Writing code using a foot pedal for the ultimate ergonomic setup
Introducing the Pedal Master™
Having been accustomed to the default emacs keybindings for a few years, I have been finding myself to be holding the control key much more than what I would consider “healthy”. Of course, swapping the caps lock key for a closer ctrl does help, but this solution left me looking for something even more comfortable. (Those C-n, C-p, C-b, C-f certainly do somthing to your wrists!) So what better then, than recreating the meme of having to use your feet to operate the keyboard!
The pedals
My goal was to design an Arduino-based controller that could read inputs from affordable pedals, while still providing a great feel and response. For this, digital piano pedals, the ones readily available in music shops, fit the bill perfectly. These connect to a keyboard/synthesizer using a 1/4” audio-style connector, and simply act as a momentary switch, which ought to be easy to read using an arduino.
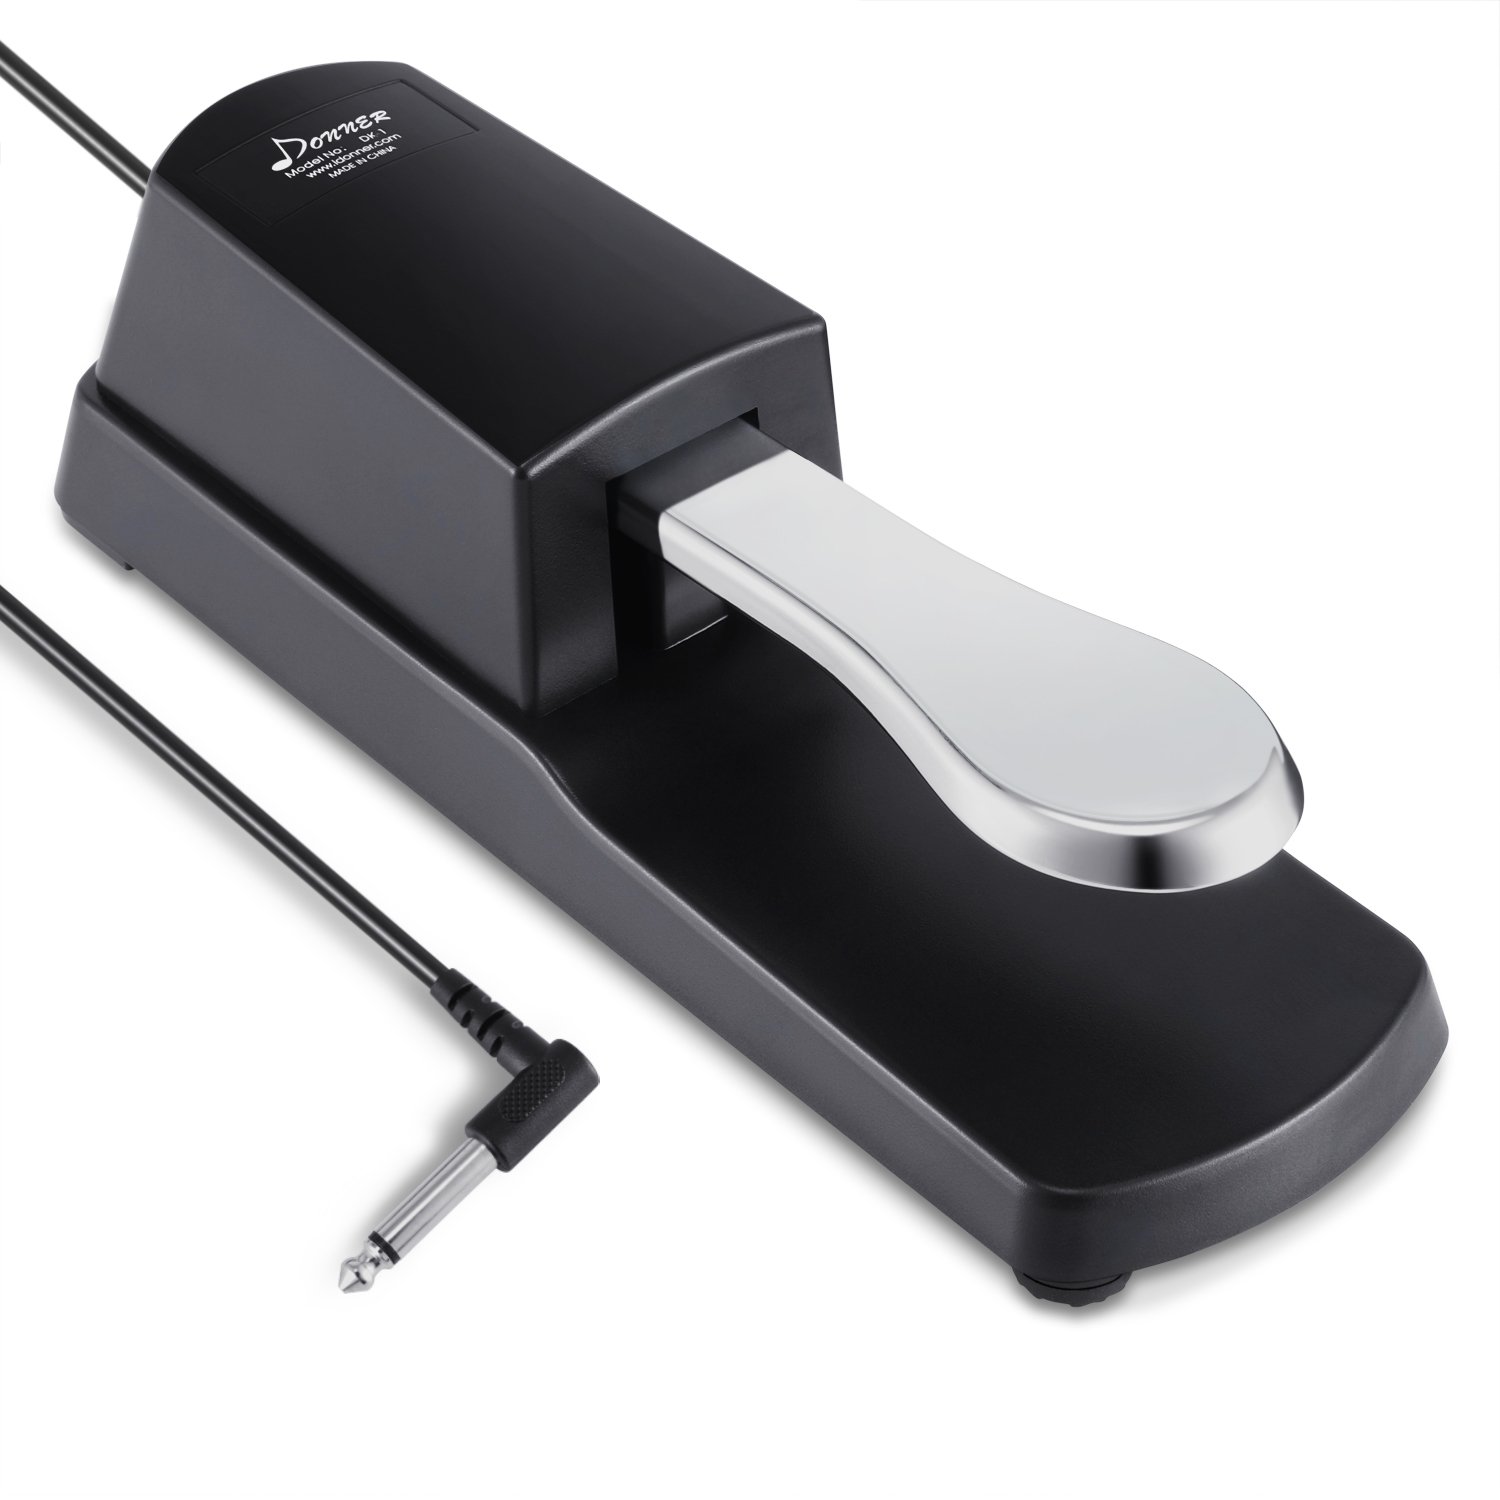
A digital piano pedal
Introducing the Pedal Master™
The first prototype was certainly less than stellar. It nonetheless
allowed me to gauge whether such a device would end up usable at
all. I haphazardly stuck together an Arduino Micro and an Amphenol
Audio jack connector with tape, and mapped the key to Ctrl. To my
great relief, the gesture became natural after less than a week of
forcibly disabling all other means of operating the Ctrl
key. Furthermore, the reduced strain on my left wrist certainly
improved my overall comfort.
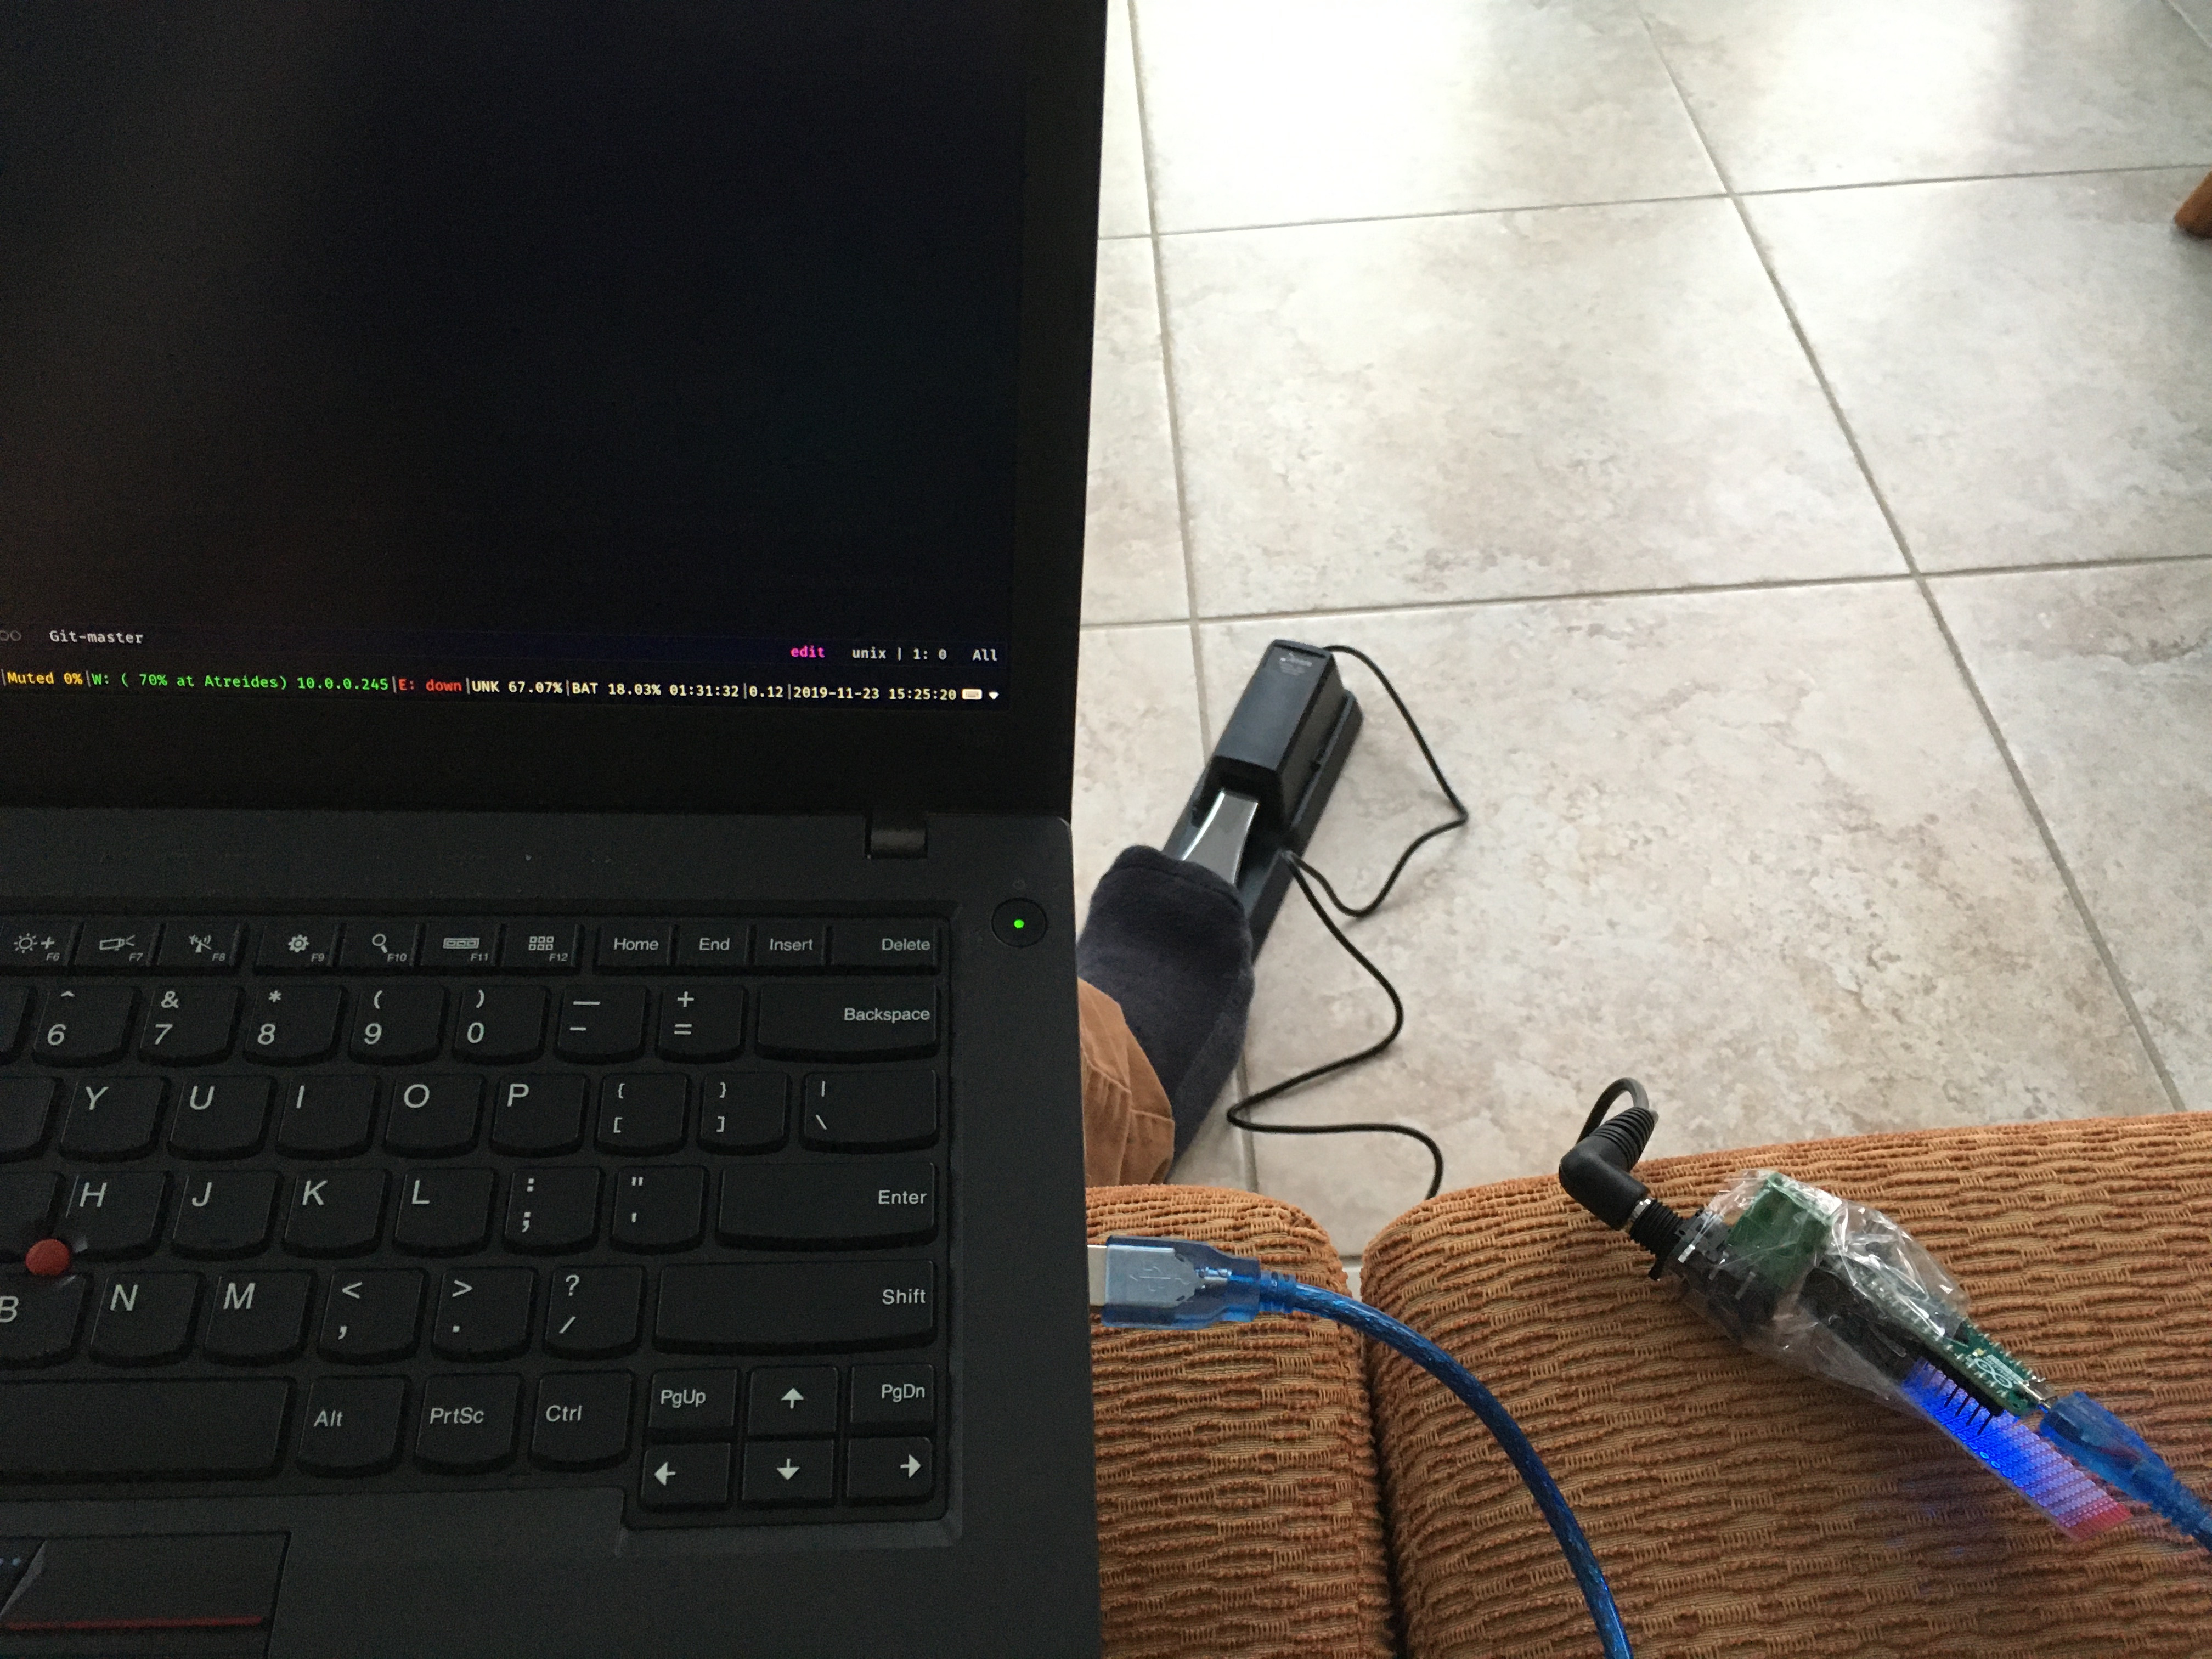
Pedal Master v1
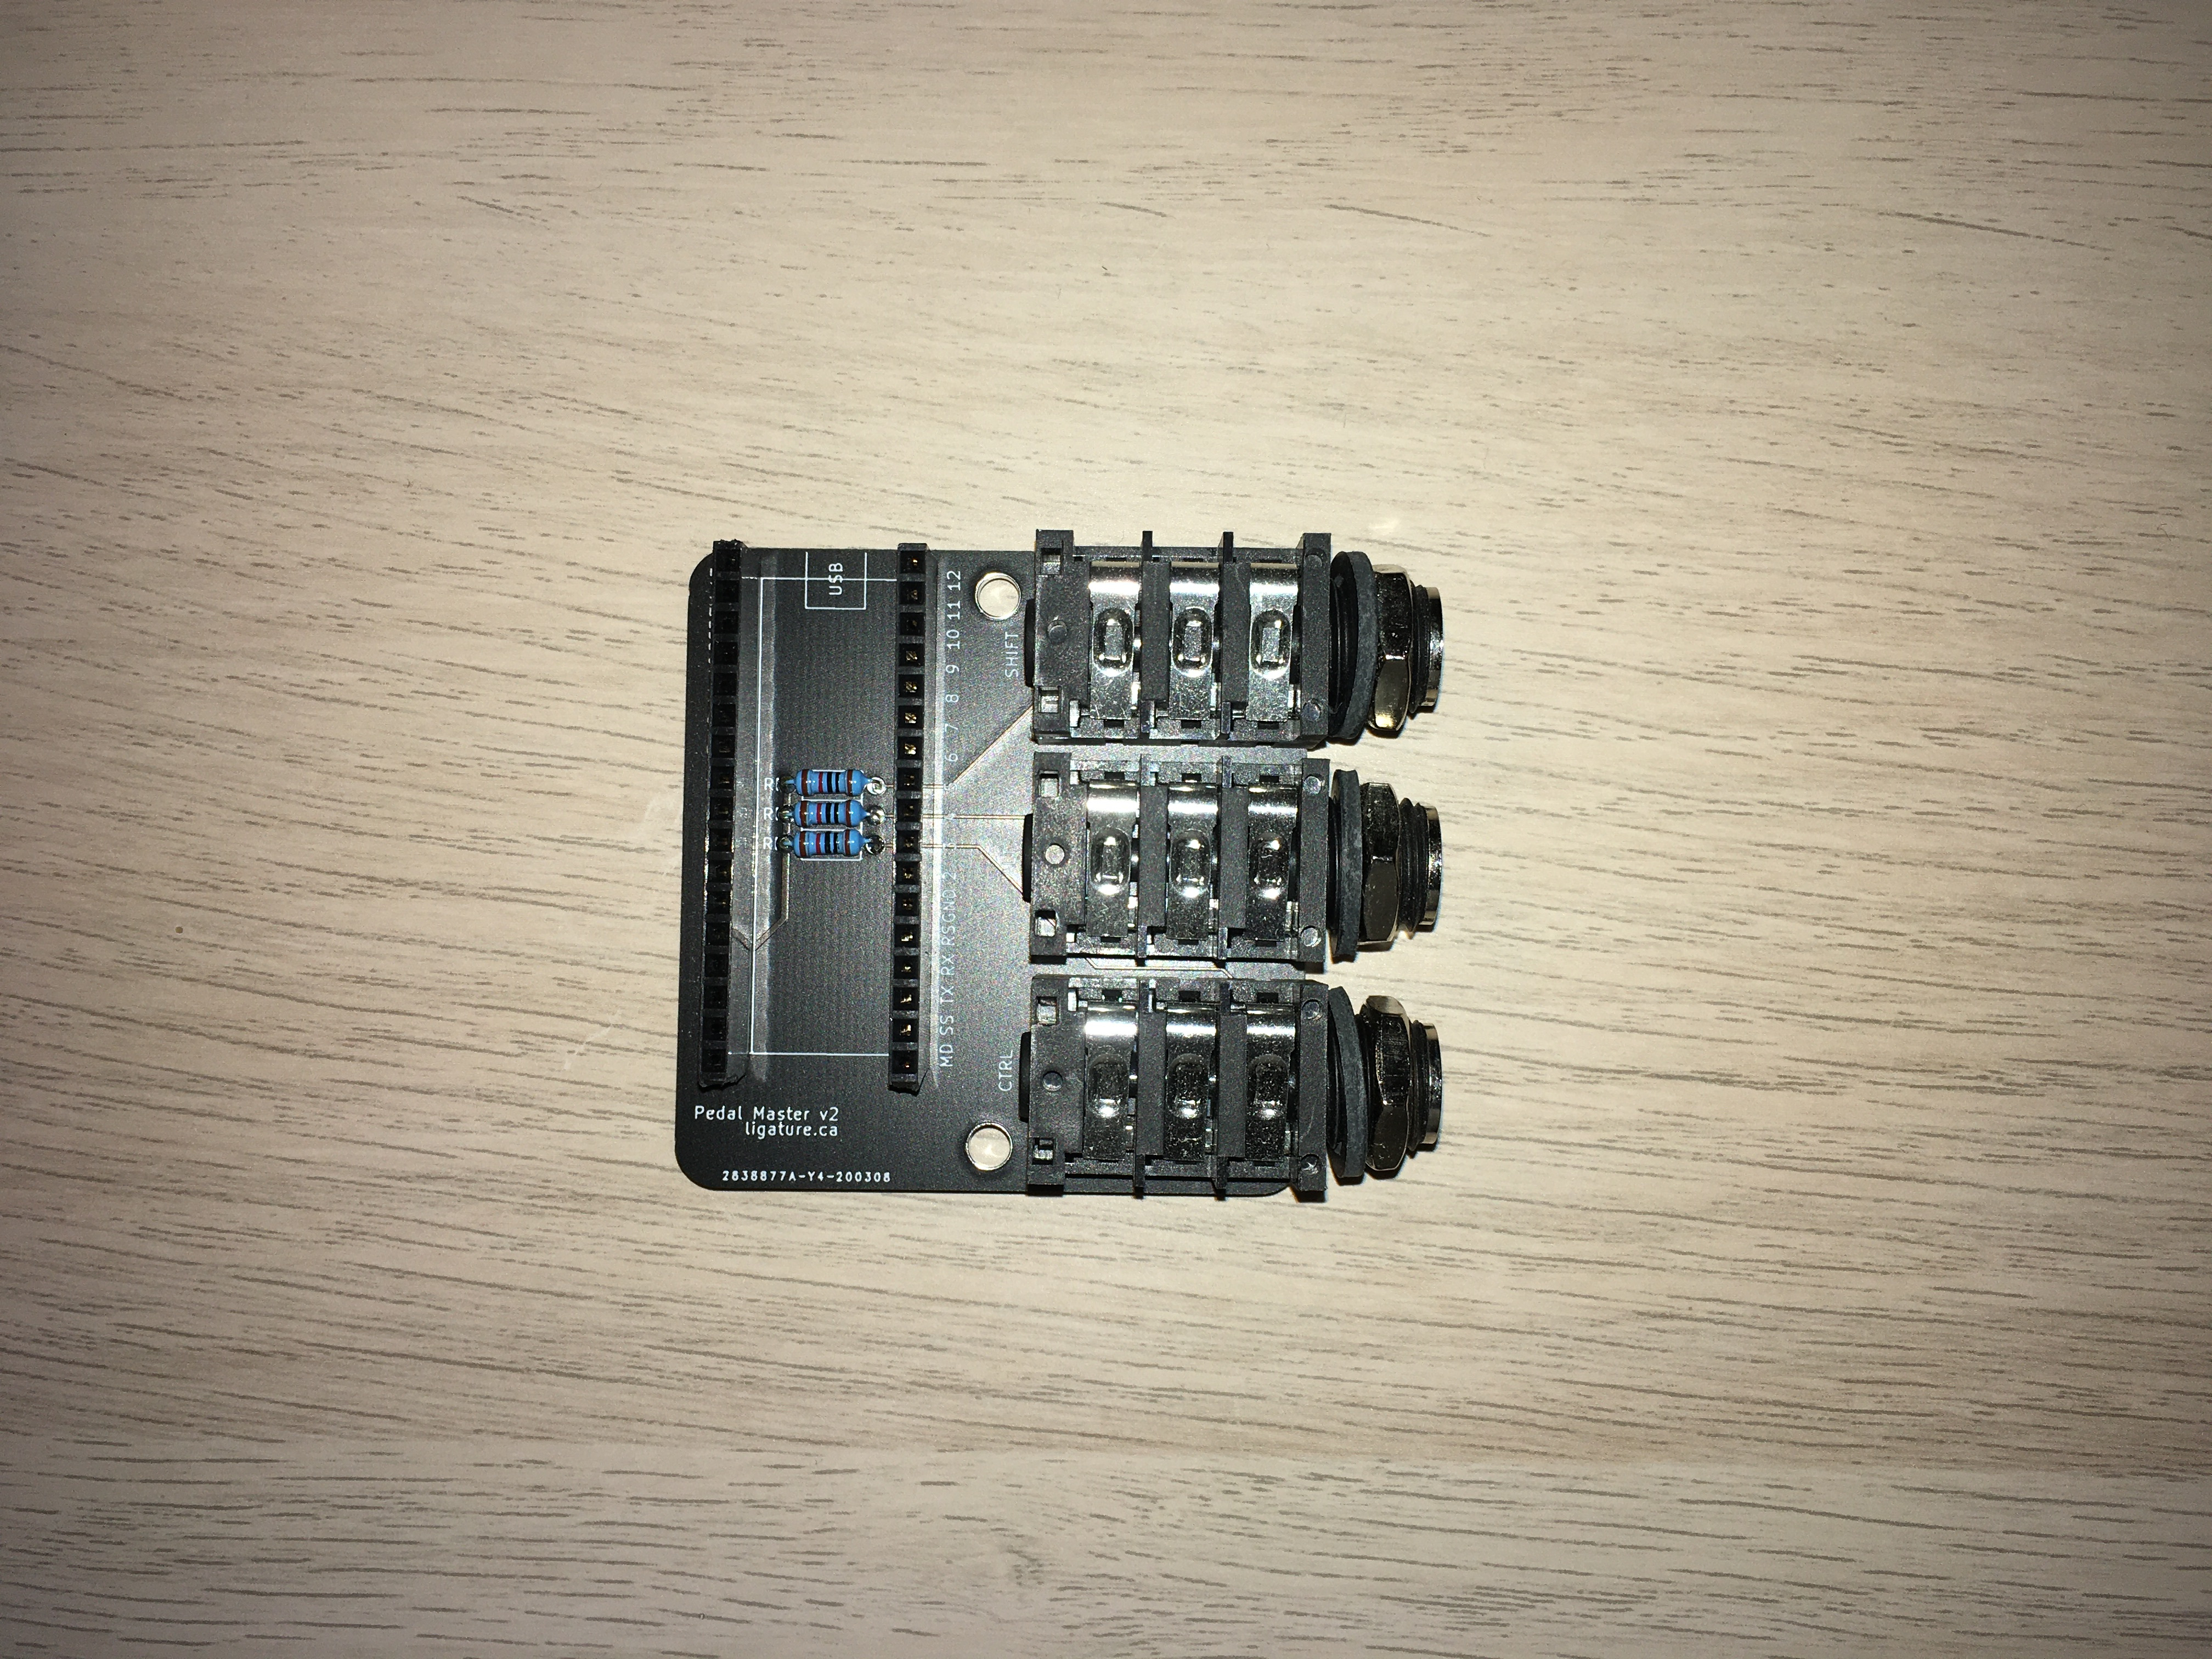
Pedal Master V2 - The Sequel
Now, onto the serious stuff. Having proved that such a device would be valuable to my daily work, I set out to create a new and improved version of the Pedal Master™, one that I would not have to be ashamed of bringing to the office.
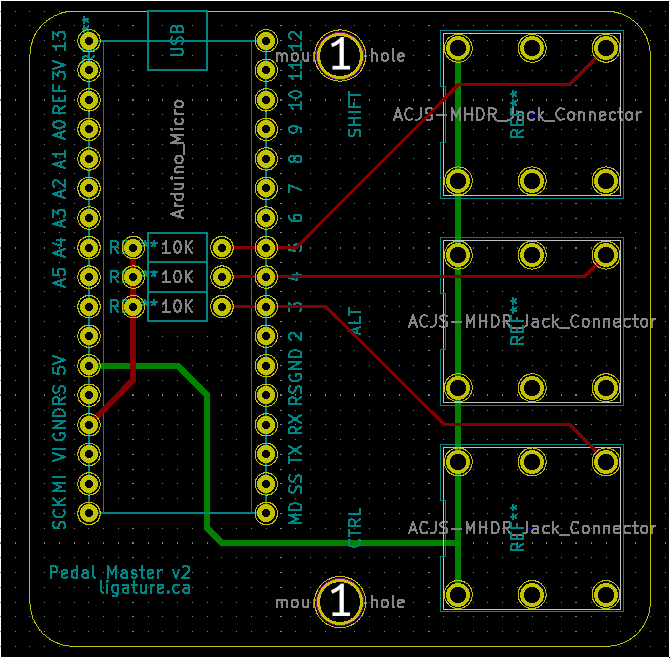
Using KiCad, I was able to design my first ever PCB, and send it to a factory in China for production. I scaled the design by allowing to use of up to three pedals simultaneously. I also added support for inverted pedals (mostly Yamaha ones), which greatly increases compatibility.
Finally, using Fusion 360 and a 3D printer, I designed and printed a simple case to house the device. The assembled part is now certainly nothing to be ashamed of!
The new and improved Pedal Master
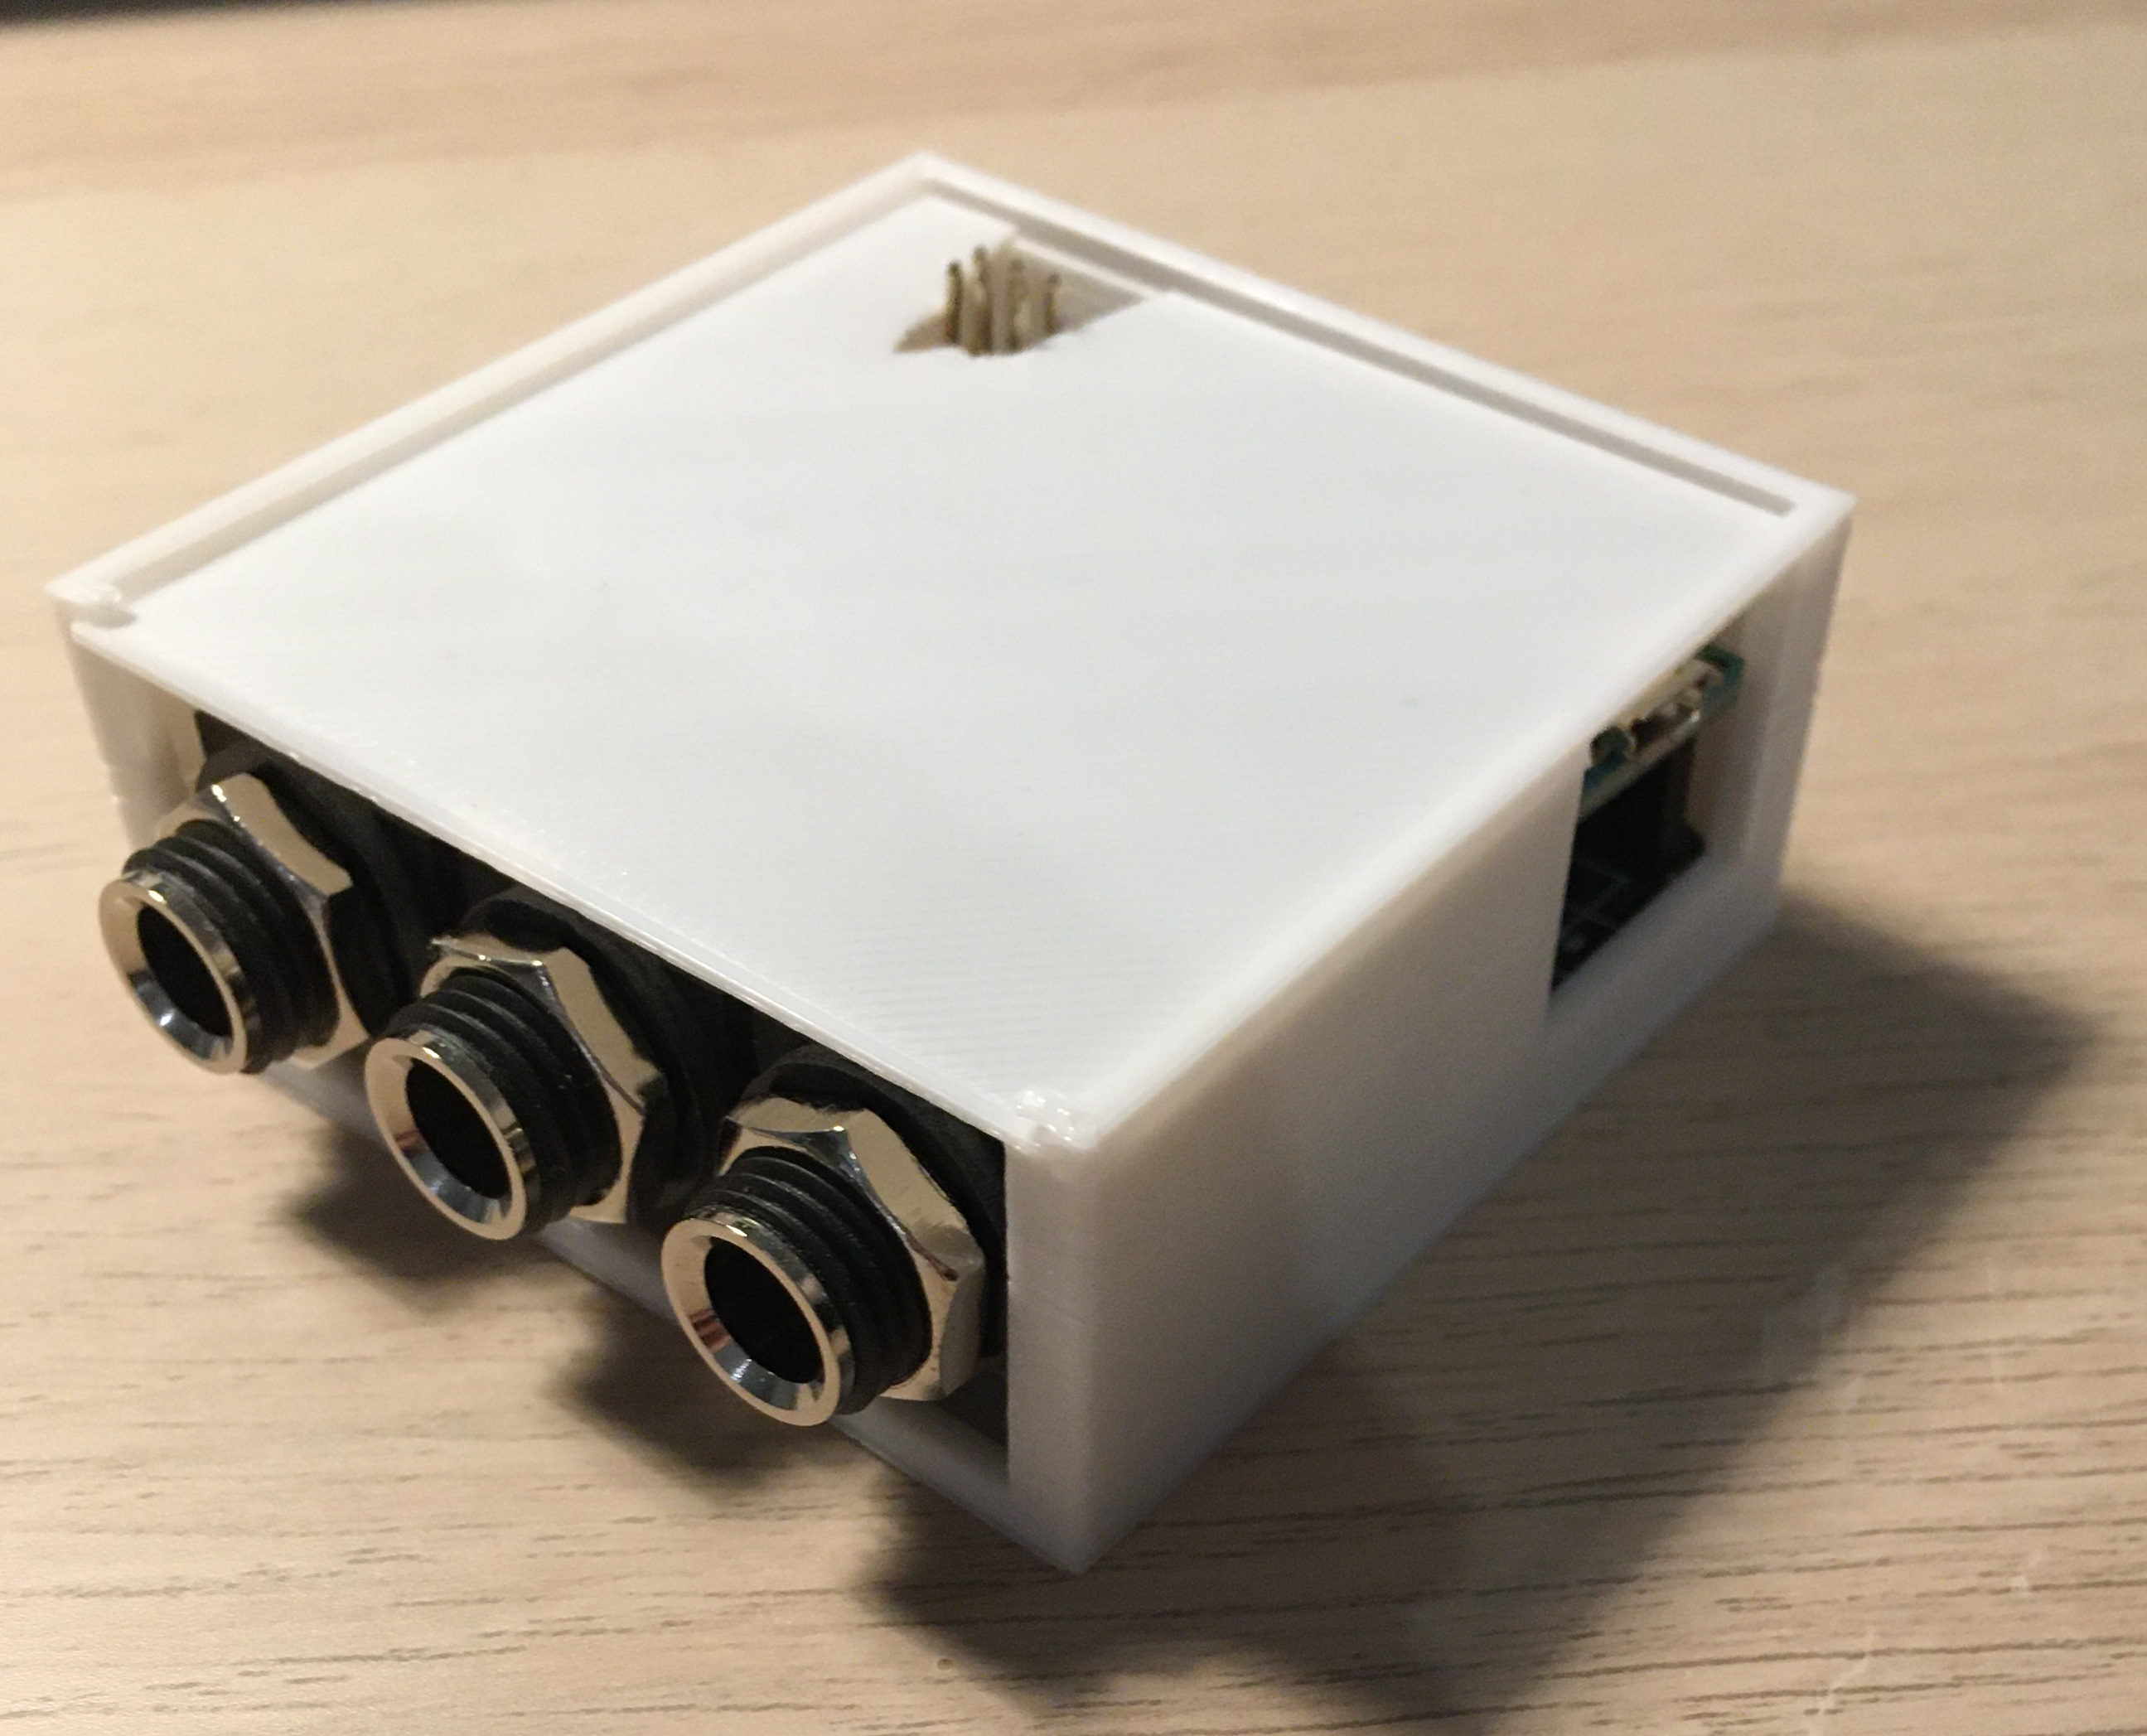
Now with a case!
Final thoughts
The goal of providing a more comfortable coding experience has certainly been accomplished. Over an extended period of use, I can tell that wrist discomfort has certainly decreased in my case, although it certainly does not constitute medical advice. Sure, the same could probably have been achieved by switching to a more wrist-friendly keymap like the vim bindings, but what’s the fun in that?
As an added bonus, constantly resting a foot on the pedal makes me, perhaps unconsciously, adopt a very straight posture, taking me back to my piano lesson days.
For the daring folks who might want to try this at home, I have compiled all the assembly instruction and fabrication files on my Github.
Random bits
I would like to be able to say that no foot pedal was harmed in the
making of this blog post, but I could not be honest in saying
so. After a few weeks of use, the first off-brand pedal I bought on
Amazon failed with a loud cracking sound. The pedal afficionado that I
now am can tell that its design was fundamentally flawed. Though the
outer part and spring were metal, the resting point was made of thin
flimsy plastic, unfit for extended use. I have since moved on to more
reputable brands.
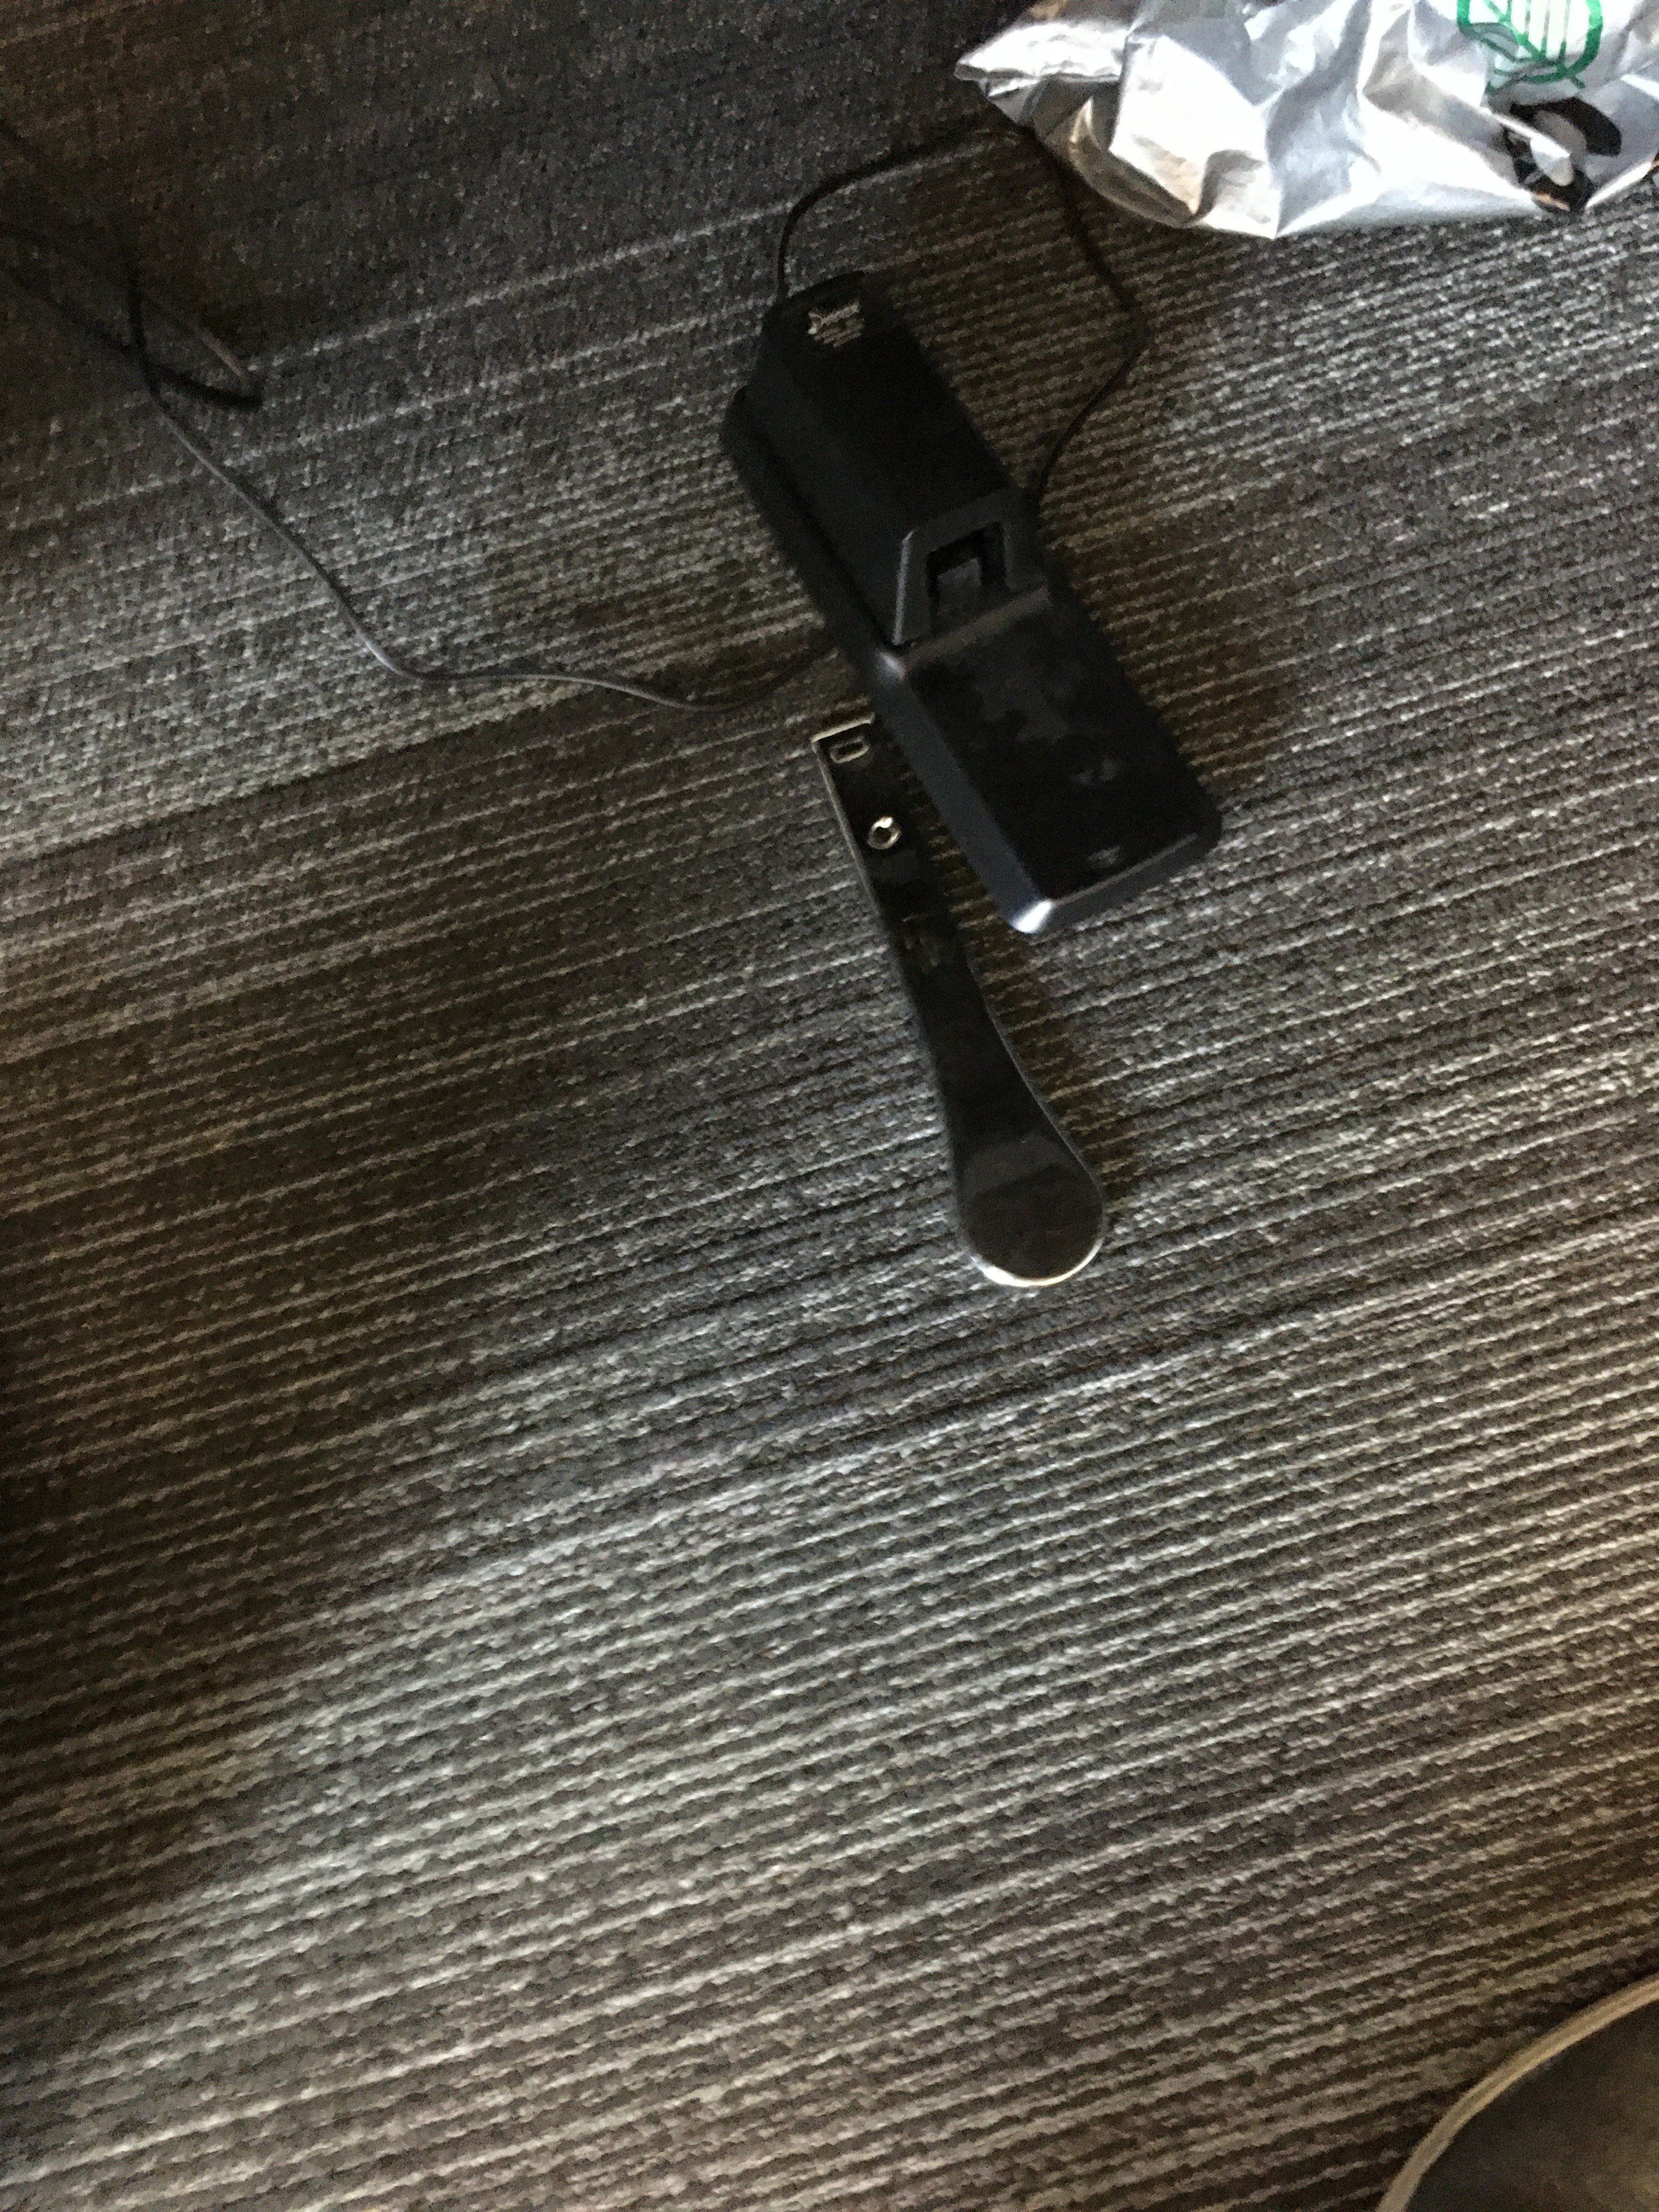
Rest in peace, cheapo pedal