Sid Meier’s Slack Bot – Spamming Slack channels since 2020.
While Civilization 5 games can be loads of fun with the pitboss setting, it usually gets pretty difficult to keep track of each other’s turn times, even with a consistent turn timer. A Slack bot seems like a compelling solution, but how exactly are we supposed to hook into the game state?
Sid Meier’s Lua Engine – Gods and Scripts
Fortunately, Civilization 5 includes various tools for modders,
including a Lua scripting engine. It also includes the FireTuner, a
nice debugging tool. By looking around in the FireTuner, I was able to
find the Game and Players global variables that hold high-level
information about the game. This includes the current turn number,
each player’s name, civilization, etc. Sounds exactly like what we are
looking for! From there, assembling a usable data format is trivial.
{
    "gameTurn": 118,
    "players": [
        {
            "id": 1,
            "nickName": "Atreides",
            "civilization": "Morocco",
            "isTurnComplete": false,
            "isOnline": true,
            "isAlive": true
        },
        {
            "id": 2,
            "nickName": "bobby_joe",
            "civilization": "America",
            "isTurnComplete": true,
            "isOnline": false,
            "isAlive": true
        }
     ]
}
Even better, the SDK has an Events API to which we can subscribe in
order have a callback to our function without having to maintain a
complicated application lifecycle. Namely, events like
RemotePlayerTurnEnd, RemotePlayerTurnStart,
MultiplayerGamePlayerUpdated will allow us to be notified of
anything that might affect our game state.
Sid Meier’s Mods – Multiplayer Shenanigans
While packaging our script as a mod sounds like the cleanest solution, Civilization 5 nominally does not support loading mods in multiplayer games. Instead of having to apply another hack on top of the one we are creating just to allow multiplayer mods, there exists a simpler route equally as hacky. Since we only need to run our script once to load our listener into memory, we can inconspicuously insert its content into one of Civilization 5’s existing UI scripts, which are fortunately saved as plain Lua. That way, our function is always loaded, and the game is none the wiser.
To that end, I found TopPanel.lua to be a suitable home for our
script, since it happens to be loaded even for spectators.

TopPanel.lua
As a bonus, we can easily keep the modified code on the server side, since it does not technically modify the game in any way.
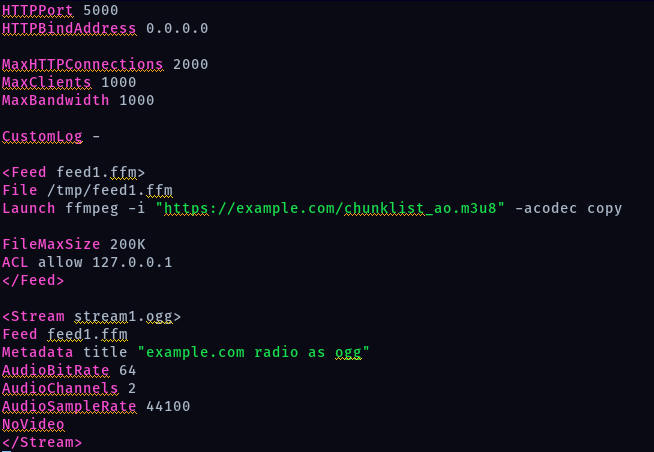
Sid Meier’s Web Hooks – An Unfortunate Workaround
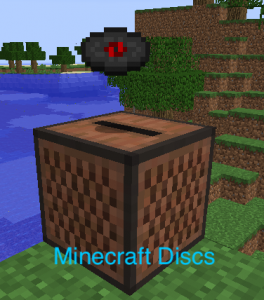
While it would be nice for our Lua function to directly make HTTP requests for the Slack notifications, the Lua engine supplied with Civilization 5 is heavily constrained, as it should be. External libraries, such as ones that would establish external connections of any kind, are not importable. This leaves one possible avenue for smuggling information out of the Lua engine: the dreaded console output.
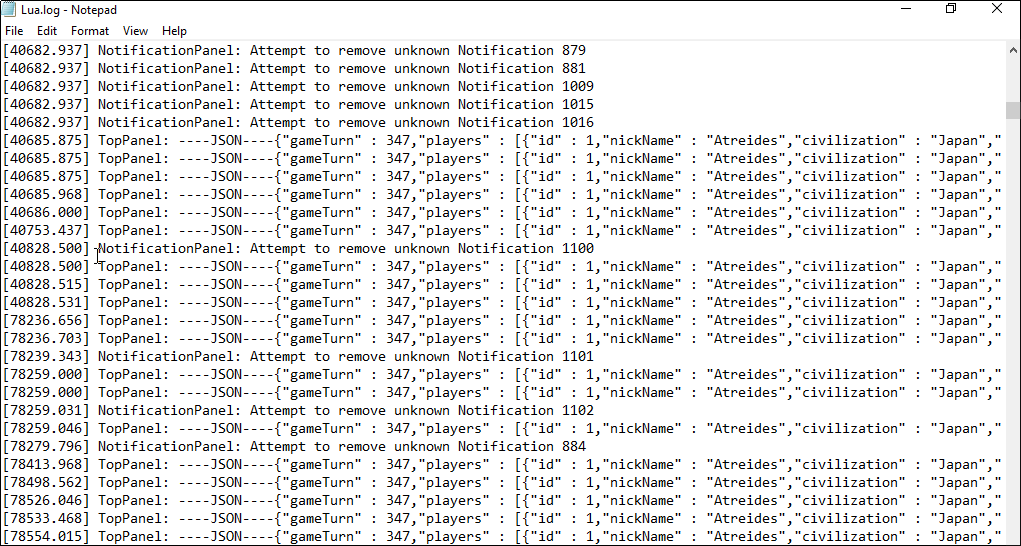
The dreaded debug console output.
Using some clever formatting and a Powershell script to watch the content of the debug console, we are able to send out HTTP requests whenever our function prints out a line.
Sid Meier’s Slack Bot – Holding Players Accountable
Making the Slack bot itself is pretty straightforward. It is a matter of creating an app integration, and sending out notifications on a specific channel. We now have everything to prevent players from forgetting to play their turn!
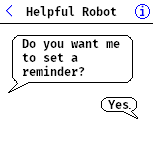
The end result.


 W
W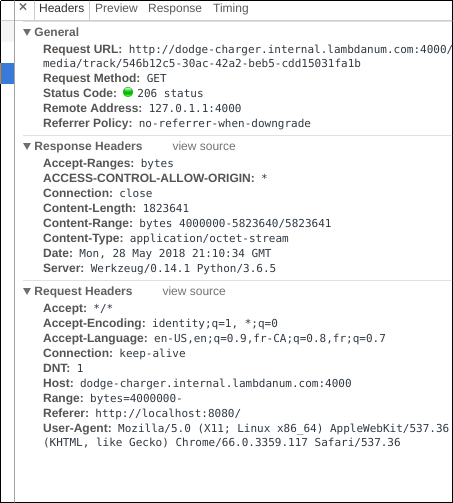
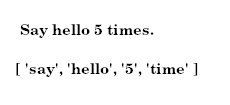
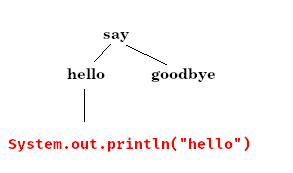 The input message "Say hello." will cause a line to be printed to the console.[/caption]
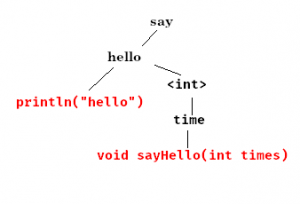


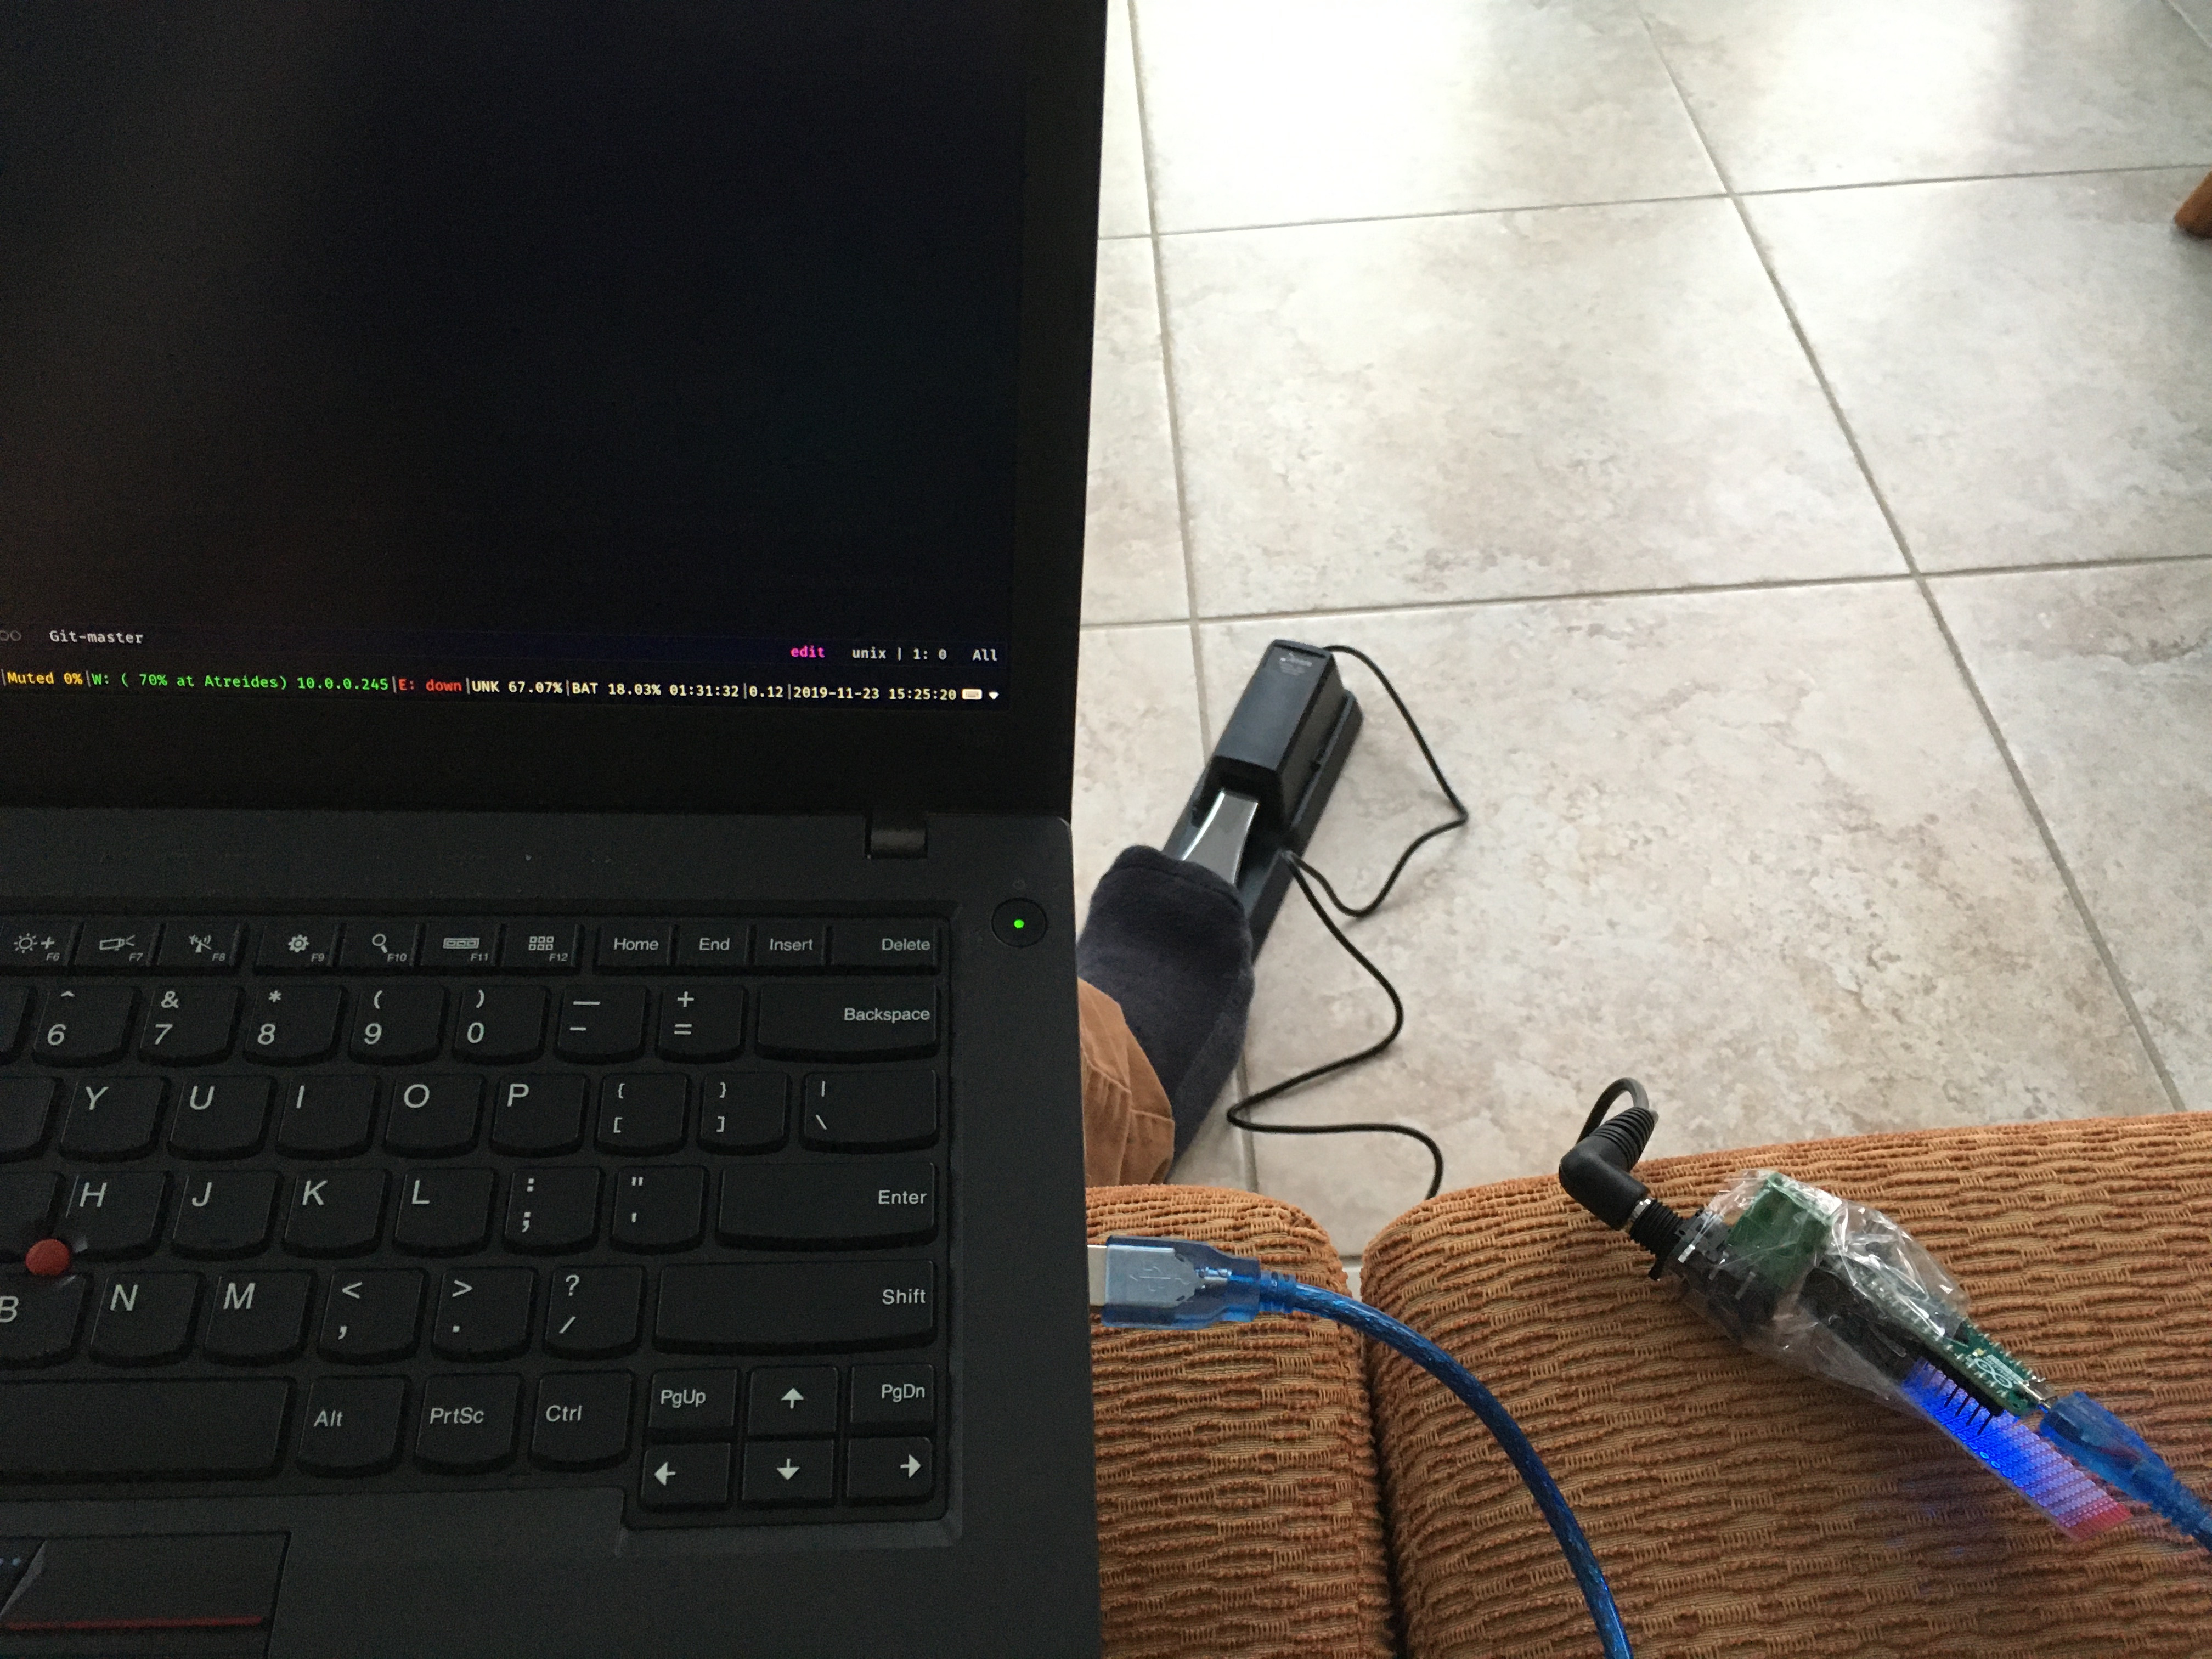
 Everything wrong with DongleScape in a single picture.[/caption]
 rEFInd does not detect 64-bit EFI binaries[/caption]